Our Second 3D Printer Enthusiasts Meeting, April 7th, 2012
Hello 757 Labs friends,
There has been a good influx of interest in 3D printers and related technologies in the past few months along with more members purchasing kits (RepRap variations, Makerbots, and talks of a couple PrintrBots in the area). So lets get together and share what we have and work on the ones that need some help or time to get up and running.
Date: April 07 , 2012
Time: 12:00 - 3:00 PM EST
Location: 233 W. Bute St. Norfolk, VA 23510 in the 757Labs Front Conference Area

3D Print of a Penny Bottle Opener
If you have an interest or want to see some 3D printers up close come on by. If you have a kit or a completed printer, bring it with you and let's share and contribute together!
NOTE: This event is open to the public, so come on out and join us!
3D Printer Enthusiasts Meeting 2/25/2012
Hello there fellow 757 Labs friends,
There has been a good influx of interest in 3D Printers and related technologies in the past few months as well as more members purchasing kits (at least 4 reprap variations and 3 5 more Makerbots that I know of in the area). So lets get together and share what we have and work on the ones that need some help or time to get up and running.
Date: February 25, 2012
Time: 12:00 - 3:00 PM EST
Location: 233 W. Bute St. Norfolk, VA 23510 in the 757Labs Front Conference Area
3D Print of a Penny Bottle Opener
If you have an interest or want to see some 3D printers up close come on by and if you have a kit or a completed printer, bring it with you and lets share and contribute together!
NOTE: This event is open to the public, so come on out and join us!
If you are planning to come, please respond or comment so that we can be sure to order the right amount of food for those attending.
757 Labs Class: Intro to CAD Design & 3D Modeling Saturday Oct. 29th, 1:00-3:00pm
- SketchUp is a free (also a paid version) application that can be used for all kinds of design (think tiny or large) and has been used on several projects at the lab already. Base product being free, the integration to Google Earth and its simple UI make it attractive but do not let that fool you, it is powerful and can be extended using Ruby scripting. This software works on Windows and Mac only at this time. Download a free copy here.
- AutoCAD is a paid application which is known as the most common CAD platform out there (closed source-wise). This is an industry standard type of application, and originally the flagship product from Autodesk. AutoCAD works on Windows and Mac only at this time. Download a 30 day trial here.
- This will be a 2 hour session that will start with one product, give you the working basics, Q&A, etc.. then move to the other design package. Stories, insight and open dialogue.
- At the conclusion of this you will be familiar with the applications to create and work with your own designs.
- This will also tie into the next 3D Printer (Makerbot) and Laser Cutter sessions, once you can design your own items you can print prototypes and usable pieces.
- Both applications are available within the lab on the graphics machine if you do not already have a copy.
- There are quite a few other software packages available, this session will be dealing with only the two mentioned above. It does not mean that these are better or worse than any that you have heard about, learned or used.
- If time permits we will share an overview of another application, Autodesk 123D, currently in free beta.
This session is free and open to members and guests.
One Printer to Rule Them All or Makerbot 3D Printer Now Alive
If you have been by the lab in the last two months, you may have noticed the addition of a new 3D printer: A Makerbot Thing-O-Matic. This device grants us the ability to print objects using ABS plastic (think LEGO brick material) or PLA (a "green" alternative made from renewable material). Check out this young inventor explaining 3D printing.
So, what does this mean for the lab? It means that we now have another piece of equipment in our growing tool set to aid us in our projects. Whether serious or just goofing around (such as scanning people at the lab and printing mini-figurines), the 3D printer is available to members who have taken the training class. The first class graduated two weeks ago and now it is time for the next round for those who are interested.
A little bit about the build process and our results:
The Makerbot Thing-O-Matic is available as a do-it-yourself kit or, for a higher price, prebuilt. We chose the kit, which came in one box with everything seen below (except for the soldering iron, courtesy of Kyle).
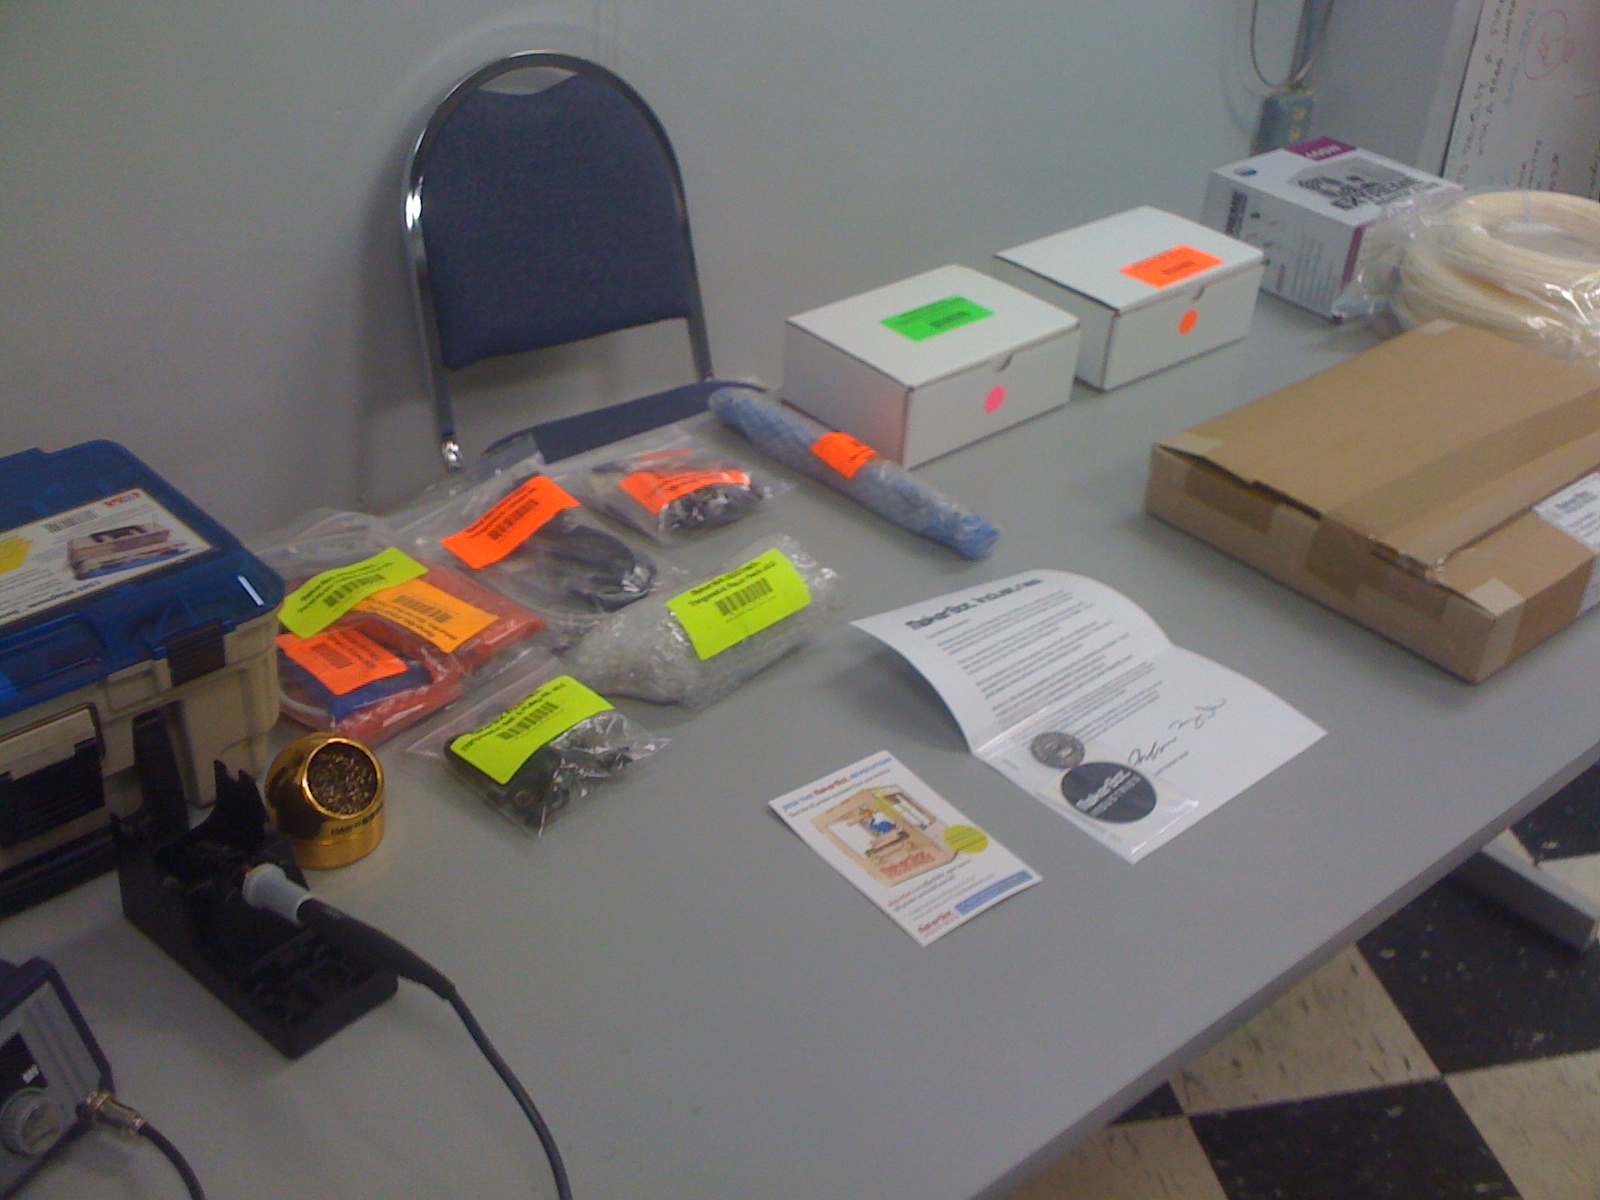
Unboxing
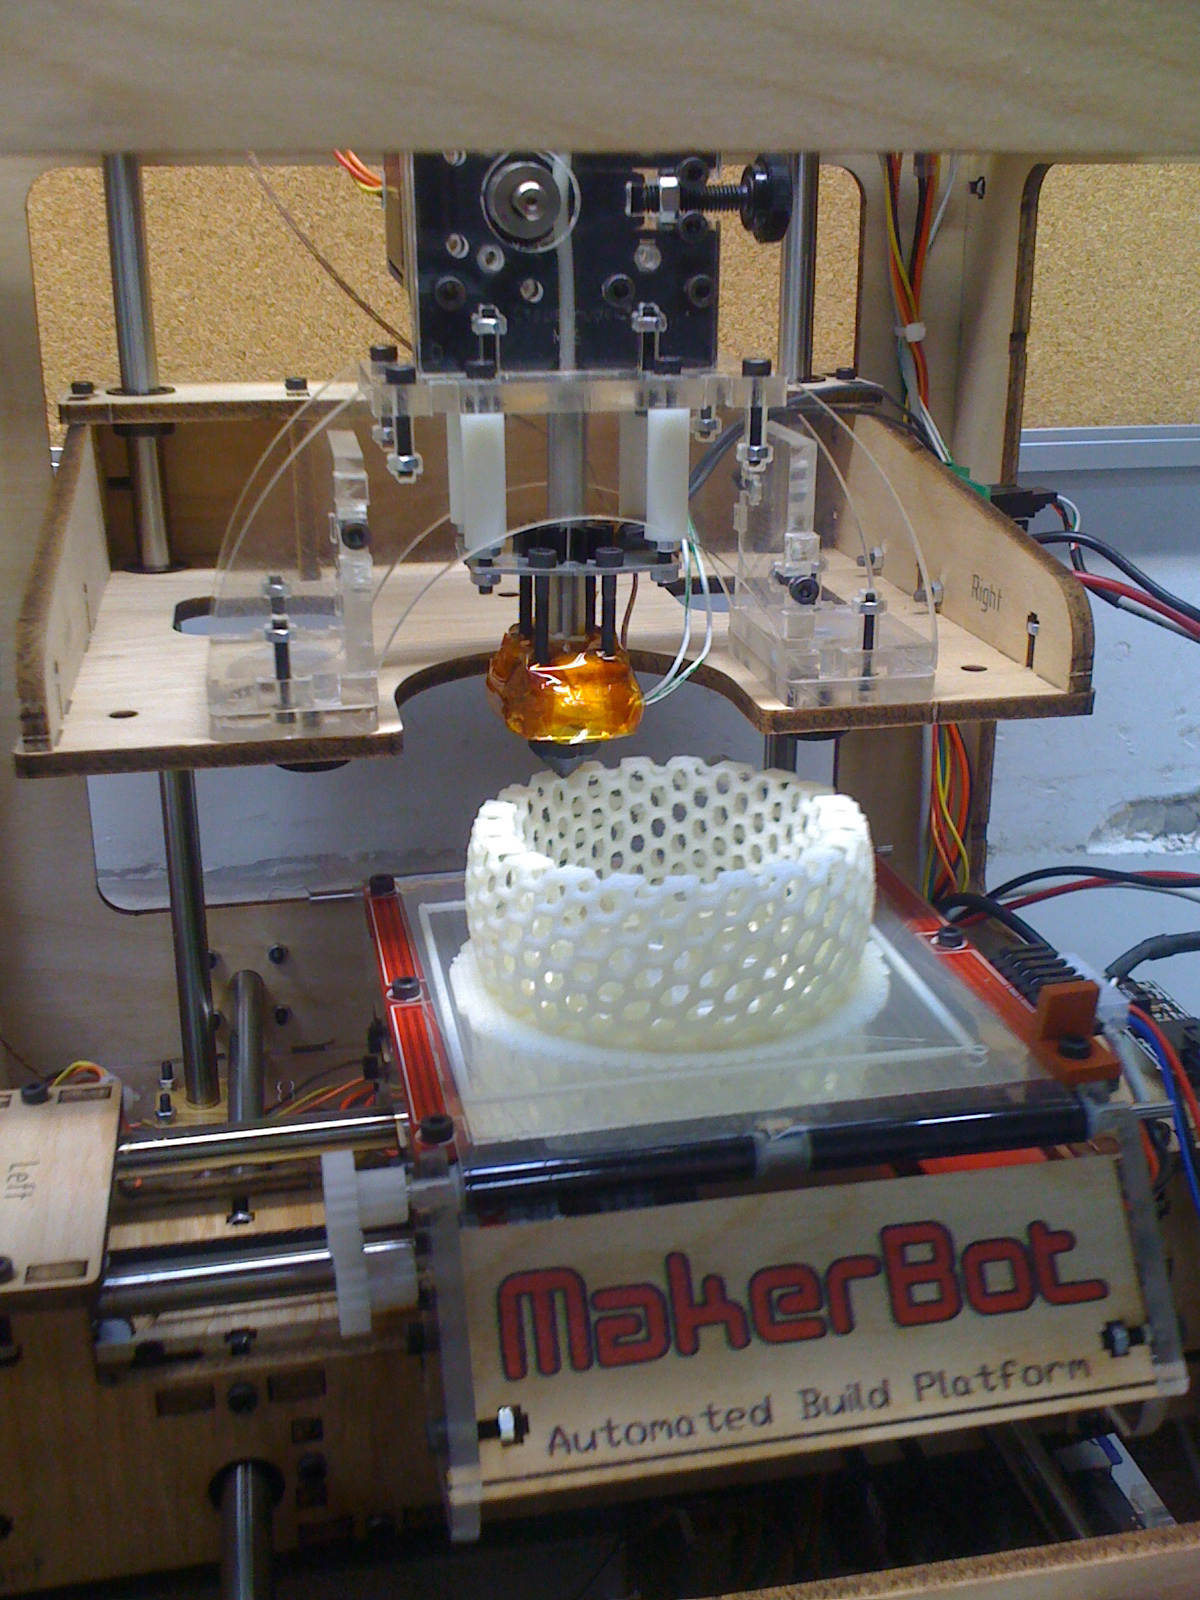
We put about 16 hours total into the build, spread out over the course of a week. In the beginning you have to choose one of three types of "build platforms," which is where the material is extruded onto. The kit provides just enough parts to build only one of the three. We elected to use the Automated Build Platform. In theory, this platform allows us to print dozens of items without any intervention. Once an object is printed, the object rolls forward using a conveyor belt where it is pushed out into a collection bucket. After the platform is cleared, the printer continues to print the next object. Our choice in platform may change over time but has been printing quite nicely over the past month as shown in the image below.
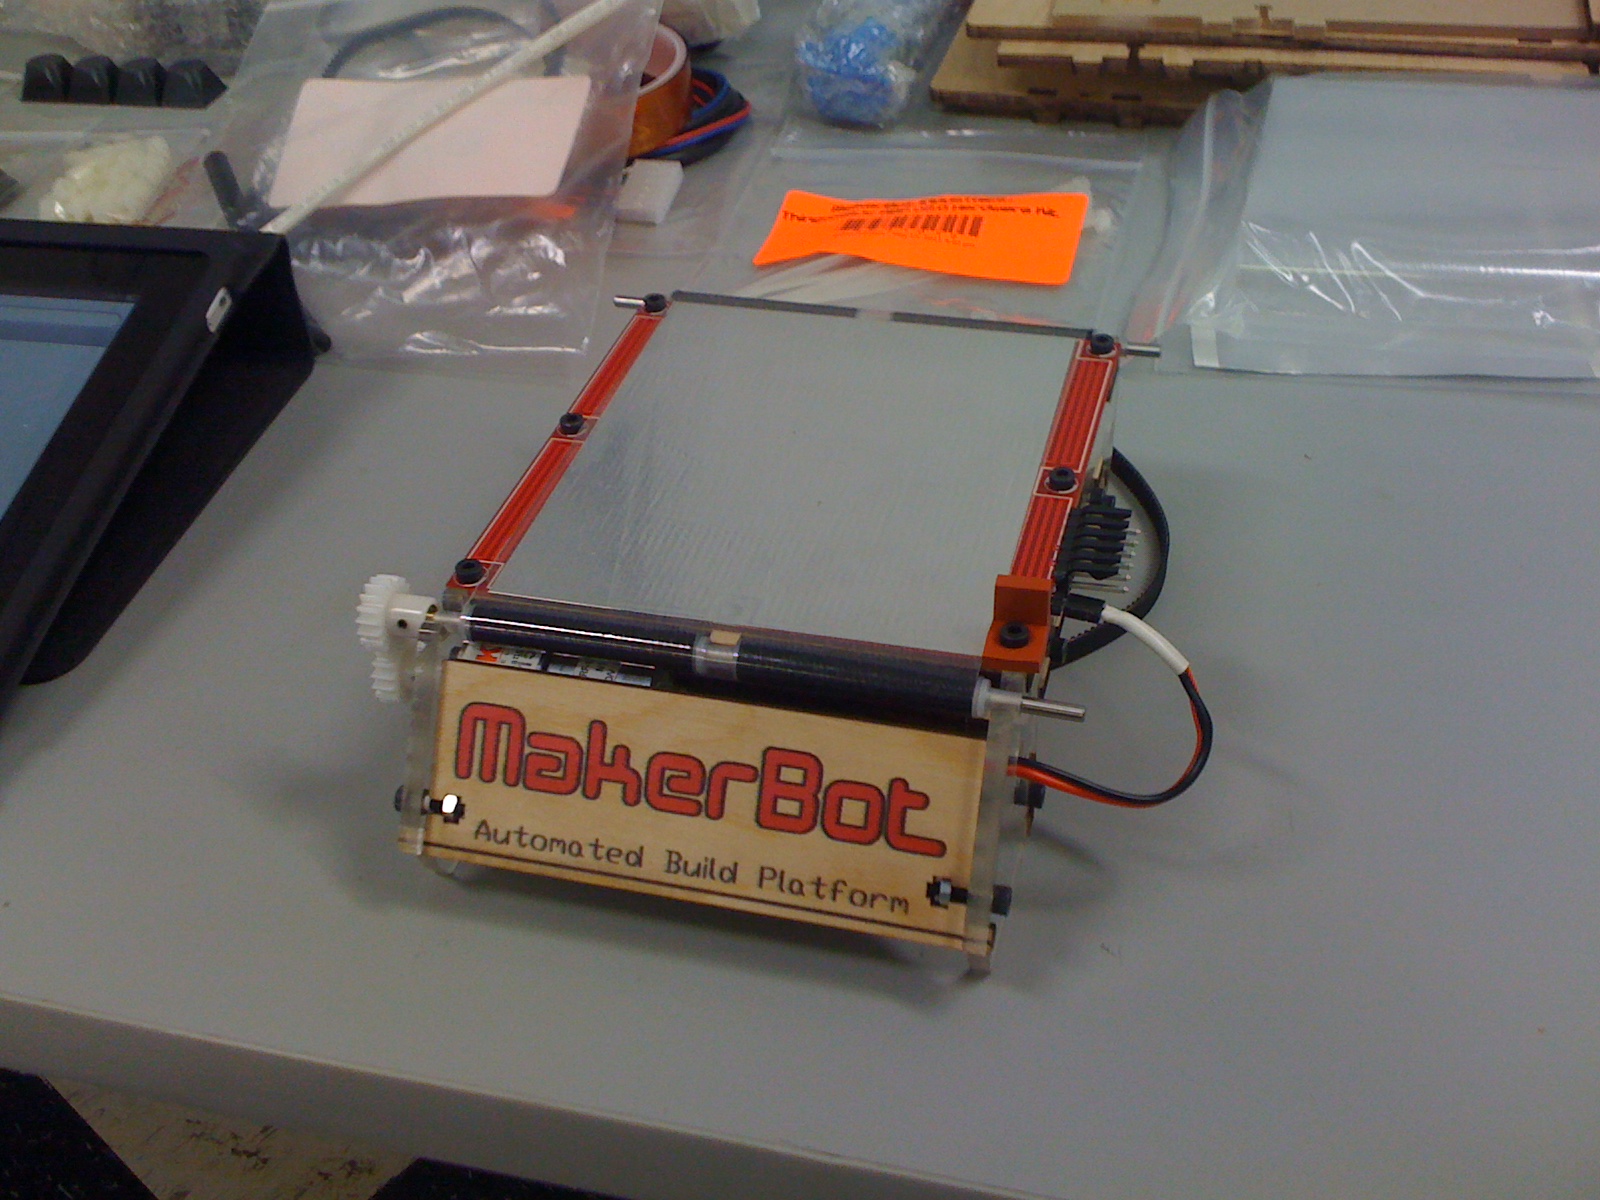
Automated Build Platform assembled
Everything went together pretty easily, for the most part, requiring only two small hacks: A single stepper motor driver cable was lengthened as it was too short and an extension connector to the power supply was built to accommodate the Automated Build Platform.
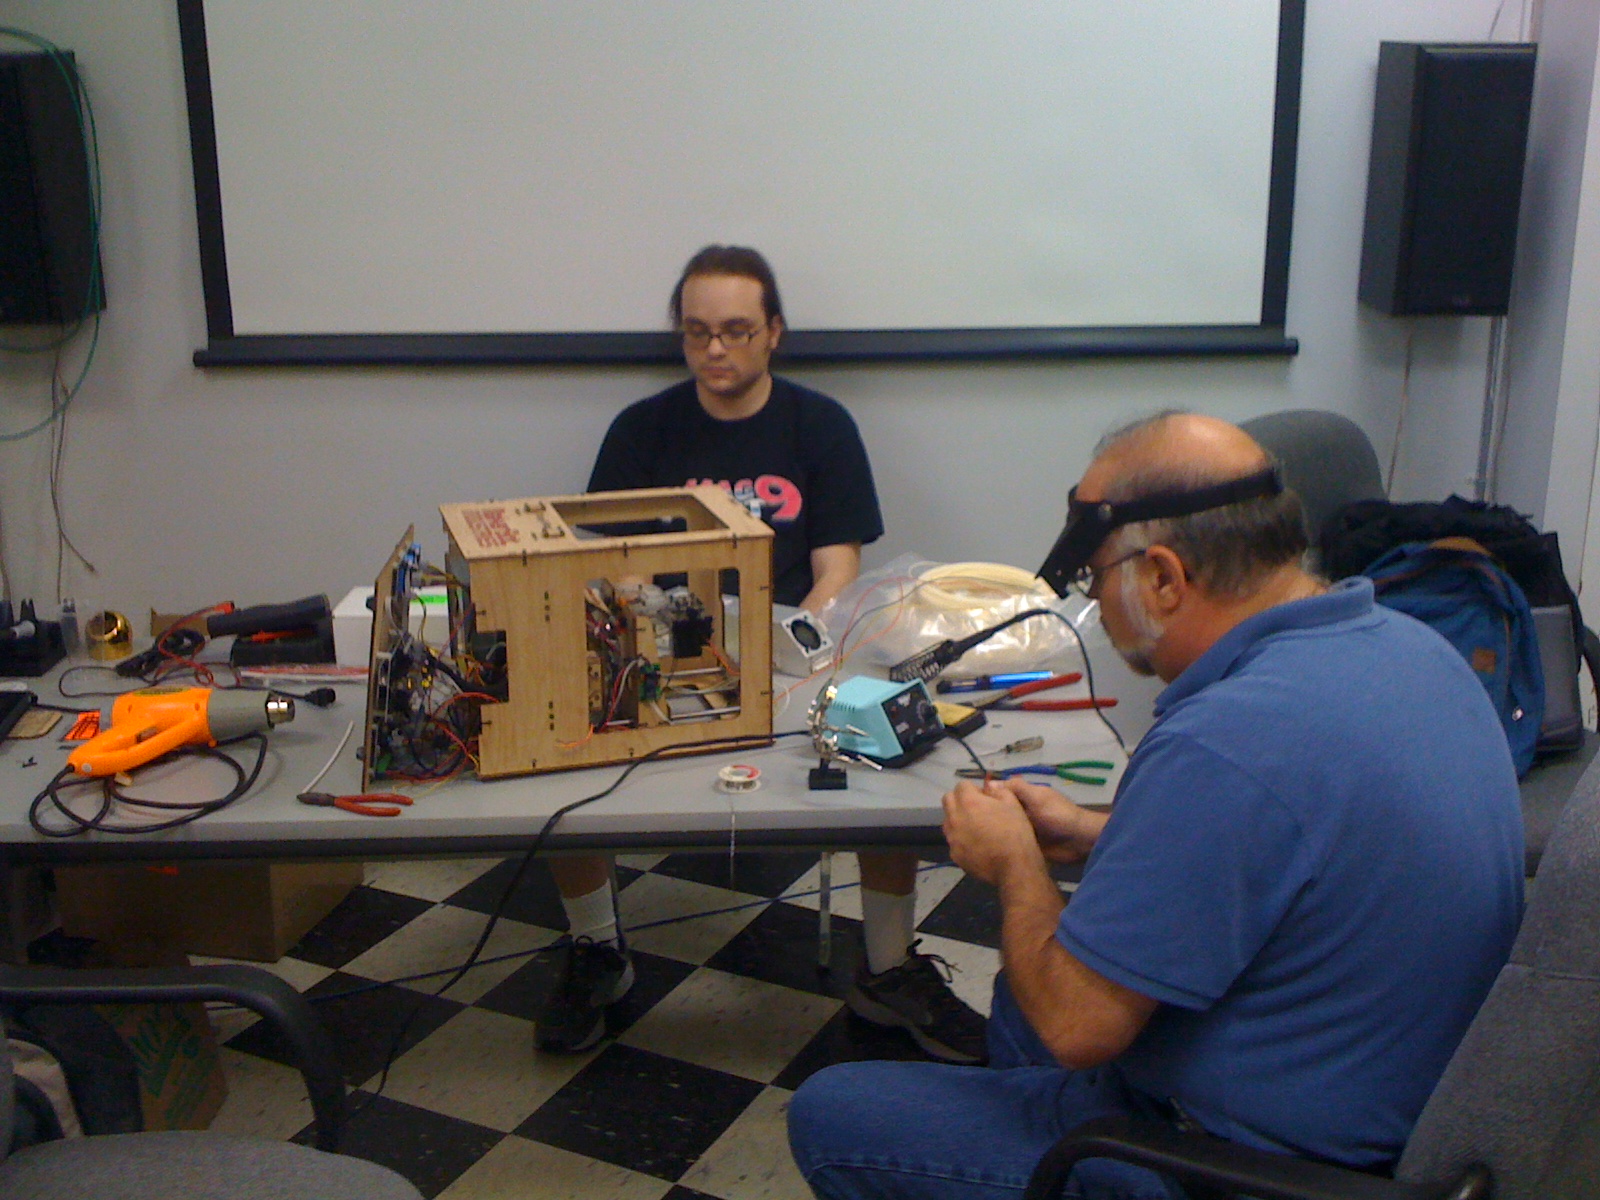
Makerbot build coming together courtesy of help from DJ Mike and Harold (once again sharing some great soldering and electronics knowledge)
Once the installation was completed we had to install and learn some new software that is used to drive the system. You can use most any CAD or modeling package (such as Google Sketch-Up, Blender, AutoCAD, etc.) for designing parts. All that is required is to export the model to .stl (stereolithography file). From here, you use ReplicatorG and open the .stl file after which you have access to a number of settings for "slicing" the model before printing with the Makerbot.
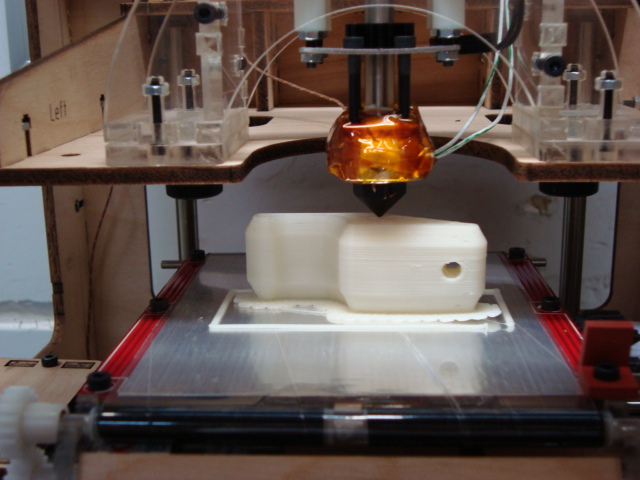
Printing a part
ReplicatorG uses built-in Skeinforge scripts to provide literally hundreds of minor tweaks and changes to fine tune and control your results. After completing calibration (or at least calibrating to a point we considered decent), we started moving to increasingly complicated builds. We have spent the last month running print after print, tweaking settings to provide a good starting point for those interested in printing.
Larger parts
We are pleased to open this tool up to more members of the lab for use in projects. If you already know any of the many CAD or modeling packages out there, you can make your own designs to print. Of course, we are also supporters of the open source design movement found over at Thingiverse. Spend some time browsing and you may find what you need already created or easily adapted!
If you want to get started, the first step is to take a class on working with the machine. More details on the specific settings we use (currently tuned for our cold environment) and how to use, best tips, etc. on our Wiki.
Enjoy and happy printing...

Location
Google Calendar
@757Labs
- No public Twitter messages.
Links
User Groups
- 757 CCC Comic & Cartoon Creators
- 757 Objective C Group Objective C and Cocoa programming group.
- 757 Python Users Group
- 757.rb Ruby Users Group
- HR Geeks Hampton Roads Geek Community