Scanning Electron Microscope Update
Over the past month, Ken and I have been troubleshooting the Cambridge Stereoscan 200 scanning electron microscope that was donated to the lab. The machine was sitting in a barn for a while and was quite dirty when we received it. After vacuuming out dust and rodent debris we noticed that the power distribution chassis was behaving very erratically. Several rotten capacitors were replaced and some connector terminals required attention due to corrosion from exposure to uric excretia. Replacement or refurbishment of those parts solved the chassis's stability problems and allowed us to examine other parts of the microscope.

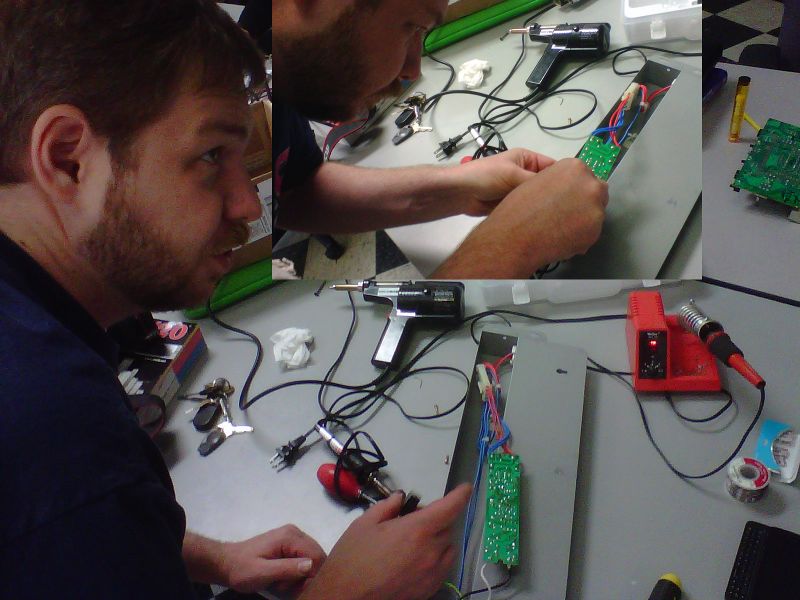
Me (left) and Ken (right)
The embedded display screen on the control desk unfortunately does not power on yet, but a BNC jack located at the rear of the desk is able to output a video feed to an external television. A primitive computer located in the control desk adds an overlay to the video feed which displays microscope settings such as magnification and working distance, permits simple linear distance measurement, and allows the user to input annotations for recorded micrographs. The computer is constructed from several 7400 series integrated circuits, some of which contained corroded pins and sockets which were replaced. Now that the computer appears to be fully functional, it will be helpful when making sure the rest of the controls are functioning properly -- for instance, right now we can tell that the spot size selector switch needs to be cleaned because the computer doesn’t react properly to some selections.

This one goes up to 30!
While we have made some significant progress in our repairs and understanding of how the microscope electronics work, we have not given much attention to the vacuum mechanism. The primary vacuum pump is a turbomolecular pump and there is a rotary vane pump backing it. Both pumps need at least an oil change before they can be earnestly tried out because they were left unused for an extended period of time without being properly prepared for storage. We will also likely need to disassemble the rotary pump to get an assessment of its condition since it did not spin during a cursory test. None of the high voltage supplies (for the electron beam filament, display CRT, etc.) will activate before a reasonable vacuum is achieved. There are also some minor electrical problems remaining that are observable in the current state. In addition to cleaning some of the front panel controls, we should evaluate the electron optics and deflection circuits and be sure that they look okay.
We’ve had a blast working on the microscope so far and look forward to the day that we achieve beam!
Our Second 3D Printer Enthusiasts Meeting, April 7th, 2012
Hello 757 Labs friends,
There has been a good influx of interest in 3D printers and related technologies in the past few months along with more members purchasing kits (RepRap variations, Makerbots, and talks of a couple PrintrBots in the area). So lets get together and share what we have and work on the ones that need some help or time to get up and running.
Date: April 07 , 2012
Time: 12:00 - 3:00 PM EST
Location: 233 W. Bute St. Norfolk, VA 23510 in the 757Labs Front Conference Area

3D Print of a Penny Bottle Opener
If you have an interest or want to see some 3D printers up close come on by. If you have a kit or a completed printer, bring it with you and let's share and contribute together!
NOTE: This event is open to the public, so come on out and join us!
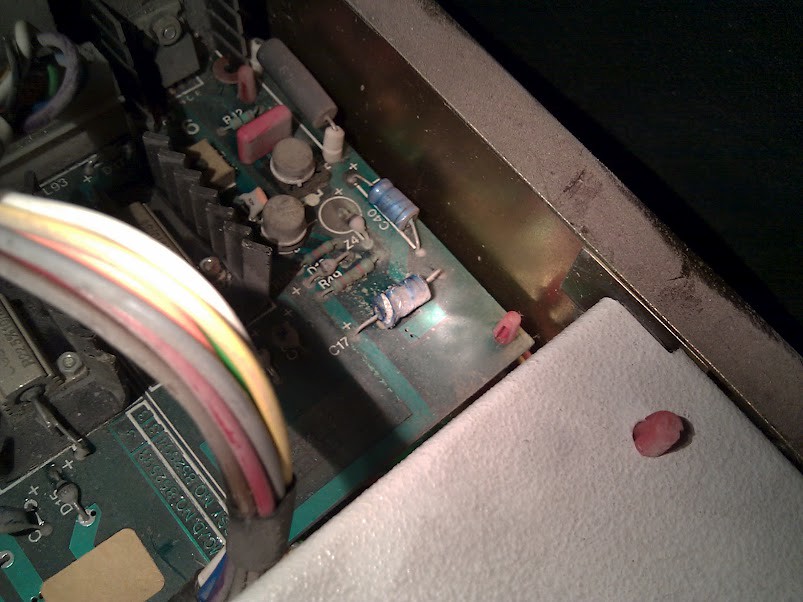
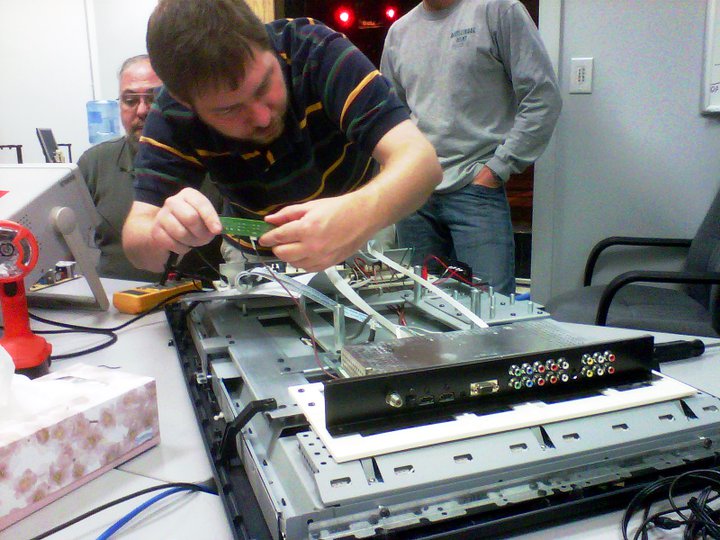
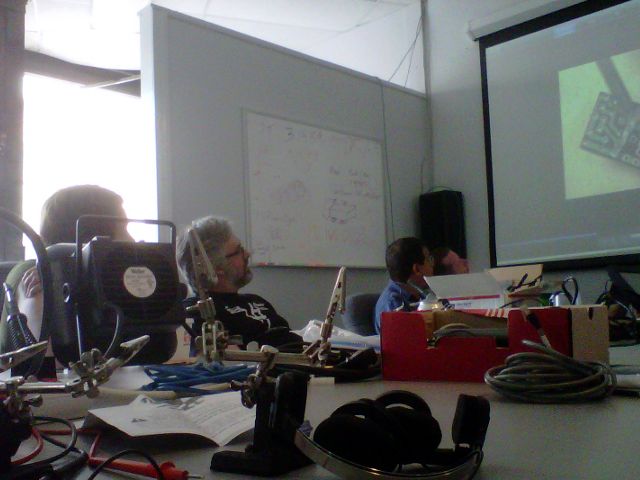
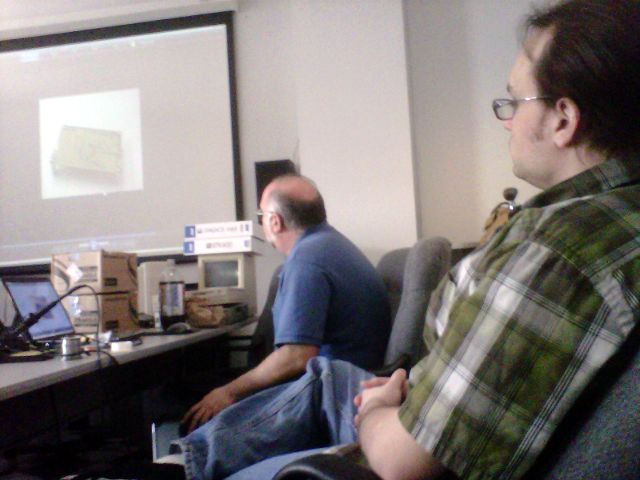
TV Repair Presentation with Ethan 2/28/2012 @ 7:00PM
Ethan will be doing a presentation and hands on overview of how he generally goes about diagnosing and repairing the flat panel TVs that come into the lab. Pretty much a brain dump, sharing what he knows and how he does this.
When: February 28, 2012
Time: 7:00PM EST
Where: 757 Labs, 233 W. Bute Street Norfolk, VA 23510
Background on tonights project: Recently, Matt donated a 42" plasma TV that had failed, and it will be our subject for this presentation. Ethan will be reviewing this cold, meaning that he has not looked inside the TV or pre-checked anything out other than confirming the service manual can be found on the inter-web. Ethan will cover both Plasma and LCD sets. While the one we will be looking at is a plasma TV.
Note: According to Ethan: It's not a profession, it's a hobby. My score so far: 5 wins, 2 losses. But 1 win is now a loss, but it could be a win again? So it may be something simple or maybe more complex, come and join us.
We will try to record this and if its usable will distribute at a later time/date.
Makita DC1411 Charger / Battery Recharge Problem + Fix
Heads up -- if you have a Makita DC1411 charger for Makita power tools, they might be prone to cold solder joints. Had two NiCad batteries that appeared to be dead. The charger would appear to charge them (LED goes red for a few hours, then switches to green). The batteries would not work.
Bought a generic NiMiHi replacement battery. It came charged, and worked until it was dead. But it wouldn't charge. The charger looked like it was doing it's duties. After some head scratching I took apart the DC1411 charger and noticed the board had a number of areas that looked like the soldering was touched up at the factory. In addition to this, the legs of a transistor (that is on a heatsink) had a broken solder joint. Re-flowed it and the charger is as good as new. Turns out the original batteries still charge! The heatsink apparently gets hot so the bad solder joint is probably due to thermal changes.
Netgear JFS524 switch failure fix (no power)
A friend's church in Norfolk had a network switch failure after a power outage. Here is the quick fix to restore use to the Netgear JFS524 (24 port 10/100 unmanaged) network switches. Symptom was switch would not power on. Standard capacitor issue. There are two on the board, one was visibly swollen and bad. Values were 2200uF at 10 volts (failed cap) and 1000uf at 10 volts (good cap replaced anyway) I think. Check values before you order in case I'm wrong on the voltages, I didn't take notes and it might be 16 volt. As always observe the polarity of the replacement capacitors and referred replacement to someone who is familiar with electronics as it's on the board that has lethal voltages. Power supply board puts out around 3.3 volts at 4 amps or some such. Good luck.
Basic Soldering Class Held on Saturday, March 5 2011
Our first basic soldering class presented this past Saturday was a success -- meaning no fires were started, everybody learned a lot, and no one got burnt...much. Harold did an excellent job of explaining the basics, plus he provided slides and videos illustrating many good and bad examples.
-
- watching some bad examples
-
- Harold provides soldering instructions & video commentary
-
- Ethan fixes a fluorescent light – “it’s a cap!”
-

- soldering tools
-
- after the lecture, soldering practice
About a dozen attendees were present, with many more showing-up later in the day to participate, even though the actual presentation was over. Items that got "fixed" via soldering included a back-light for a Cruis'n Exotica arcade game and a set of Koss headphones that previously had wire damage due to a mischievous pussycat.
Events for Saturday, March 5, 2011

Here are two events scheduled to be held at the lab on Saturday, March 5, 2011:
2:00 PM EST - basic soldering class by Harold; bring eye protection and something to solder
in Harold's words:
Date: Mon, 28 Feb 2011 19:30:14 -0500
Subject: [757labs] Class this SaturdayI finally decided to dive in and become the experimental pig for the first class! Well at least the first "hardware" related class.
This Saturday, at 2:00 PM, I plan on holding a Basic Soldering Class for anyone who wishes to show up at the Lab. With that said, if for some strange reason we are swamped, I must give preference for room to current Lab Members. That is only fair to them. I doubt we will run out of room, so please show up if you want!
The game plan is to have the herd assembled by 2 PM and the actual start time might be 15 or so minute later. The one thing that would be nice is to have a list of who all plans on showing up so I can have a roster to know when it is time to start. I won't wait all day and plan on letting 2:15 PM being the delayed start time.
For anyone who wishes to attend please bring the following if you have it:
1. Your soldering iron, station, whatever you currently use. PLEASE DO NOT RUN OUT AND BUY SOMETHING!!! Unless you really want to. There are the good bad and ugly types of irons to waste money on.
2. Hand Tools. Most soldering hand tools could be classified as side cutter diagonals or regular diagonals if you don't have those. A straight pick, tweezers, any heat shrinks etc.. Again, don't run out and buy stuff if you don't have it already.
3. Safety glasses. I am not going to demand that anyone wears a pair; however, if you do not wear any type of glasses normally ... I suggest getting a cheap pair. Remember, solder is molten metal. Your eyes do not like it. Burns to your skin are one thing ... burns to your eyes are something you more than likely wont recover from.
4. If you have any type of circuit kits or solder breadboards etc.. that you would like to work on, please bring them. If you don't have anything, please try to snag a cheap one from Radio Shack to play with. Also, if you have some old components like resistors etc.. drag them along so you can have something to solder on.
5. Solder. If you have your own type that you are used to working with bring it. If not, I should have plenty for everyone to play with.
6. Solder wick / Solder sucker. This is something that would be nice to have, but it is not required. We can pass around what we have.
7. If you have a board vise or any other sort of device that you use to hold circuit cards etc.. that would make life easier on you. If not, we will do it old school.
The objective to the course is not to turn everyone into a uber solder dude but to at least give you some insight and hands on experience to allow you to enhance your current skill set. Since I just decided to get stupid and give a class (oh joy!) I don't really have a course written up so please handle the lack of continuity and we will all get through it.
8:00 PM EST - game development meeting by Matt (cyberflux); bring your ideas
in Matt's words:
Date: Mon, 28 Feb 2011 19:20:12 -0500
Subject: [757labs] Game Developers Team (March 5)I am looking to have a game.dev meeting this Saturday for those interested in creating games at the Lab. Those who are interested feel free to show up sometime around 8pm or so, but I should be there earlier. Currently I am loading services on an older dual Xeon 2 server that will host development environments for Net applications. There is currently no defined hardware for the group so there is flexibility in what platform to go with, however most have been looking at diving into the mobile device market. Any input prior to the gathering is welcomed.
Hope to see some people there! Cheers!
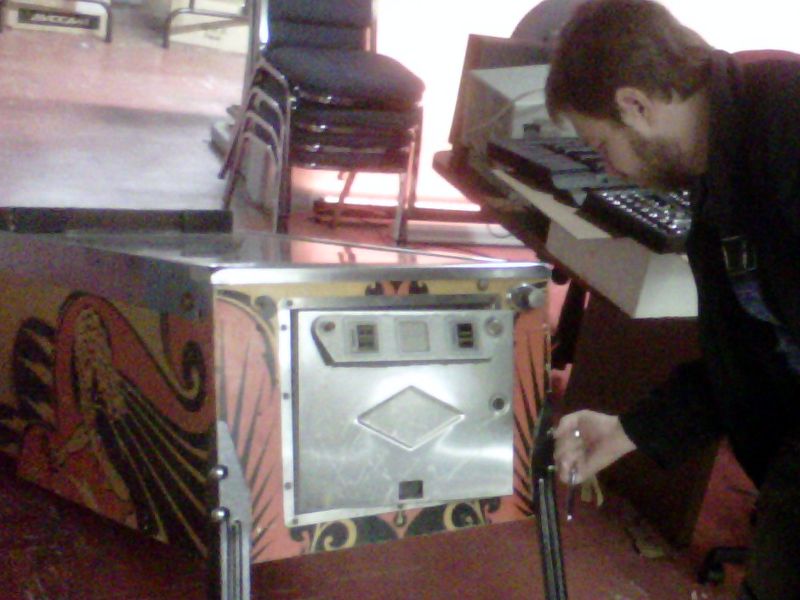
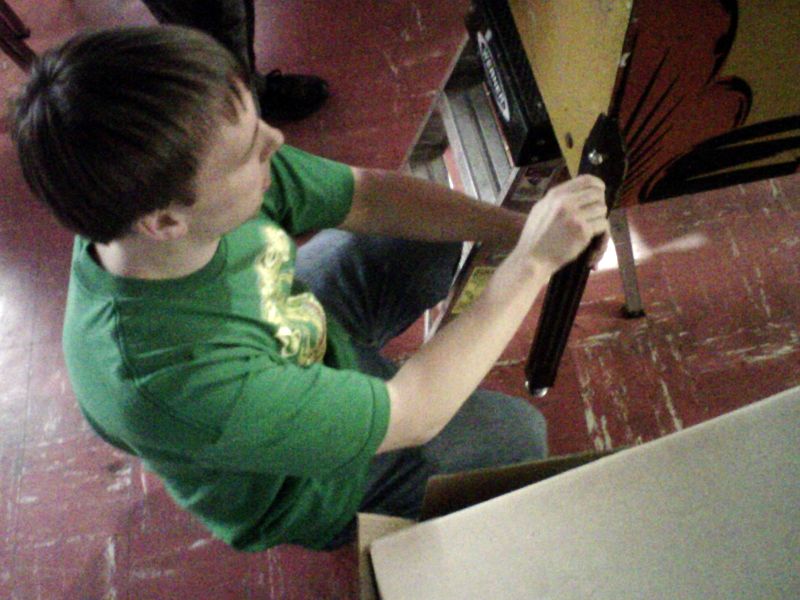
Mata Hari pinball gets a leg up (actually 4)
Ethan, MarkG, and Matt got the legs mounted on the Mata Hari pinball. Later, when DJ Mike arrived, we went to Cogan's Pizza for dinner, where we discussed plans for our upcoming MAGFest road trip. At MAGFest, we plan on setting-up a vendor table to promote the hackerspace, and maybe the radio station project.
There was also talk of a lab members-only meeting the following weekend (Saturday, January 22, 2011 around 6:00 PM EST), followed by an open hack night (8:00 PM EST until whenever).
-
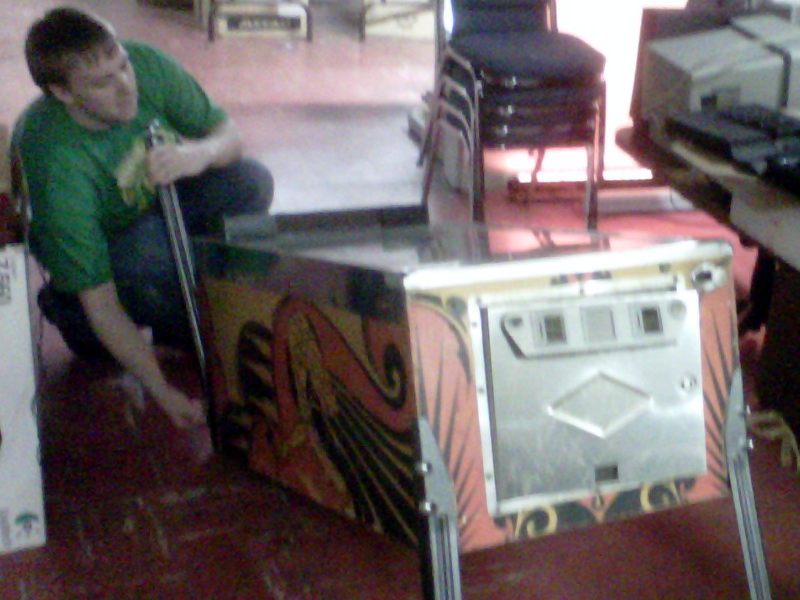
- Matt mounts rear legs on the Mata Hari pinball
-
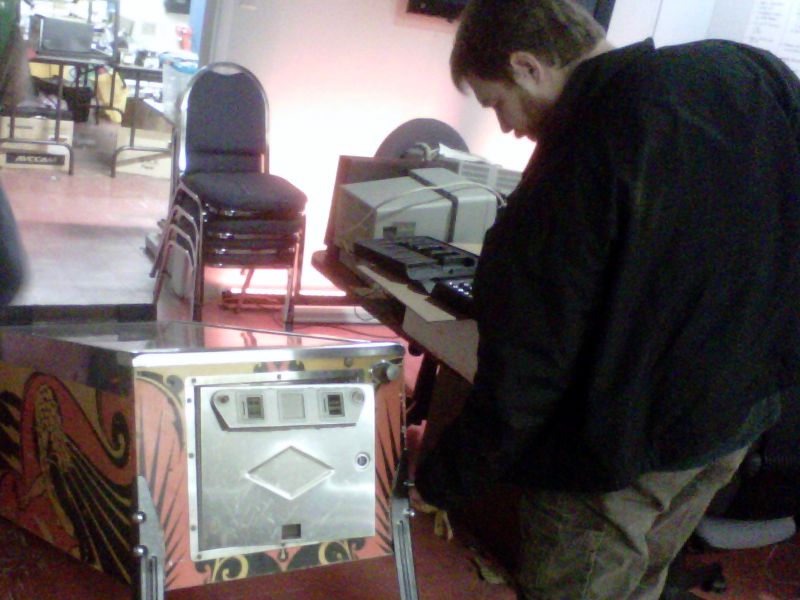
- Ethan mounts front legs on the Mata Hari pinball
-
- Ethan mounts front legs on the Mata Hari pinball
-
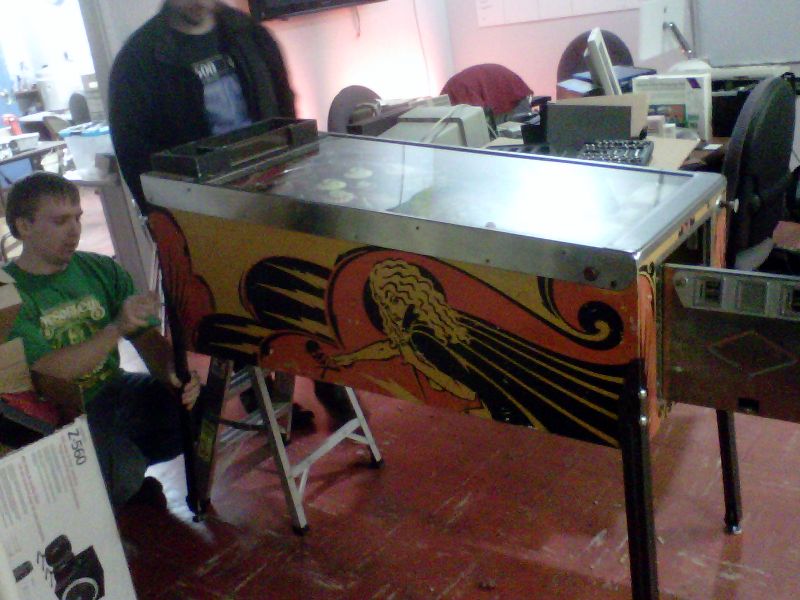
- Matt mounts rear legs on the Mata Hari pinball
-
- Matt mounts rear legs on the Mata Hari pinball
-
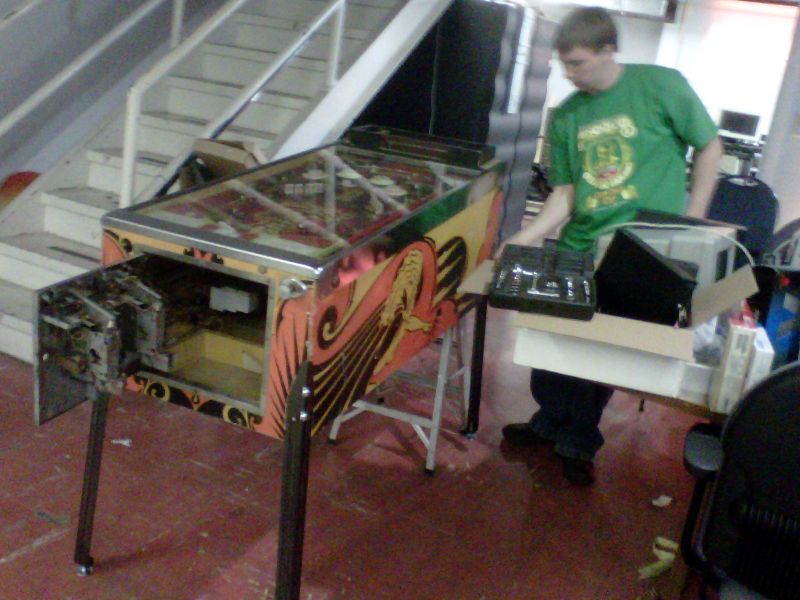
- Matt mounts rear legs on the Mata Hari pinball
Other plans include another electronic / MIDI music jam session, and another LAN party, both in February. Stay tuned.
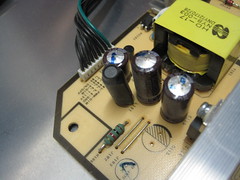
Samsung 226BW / GH22WS LCD monitor fix
Over the weekend George brought by a Samsung LCD monitor that was having issues. The screen backlight would flicker somewhat fast. It looked like the CCFL back light tubes were failing on the monitor, or something was up with the inverter. Upon further inspection it was common bad caps issue. So if you have one of these, you're going to want two 820uF 25V caps and a 330uF 25V cap. You can see the bulging ones inside. C110 and C112 are two of them, the other is in between. I seem to recall similar issues with a different model Samsung that was donated to the lab, perhaps the power supply boards are the same. Faulty components from the manufacturer led to this issue.
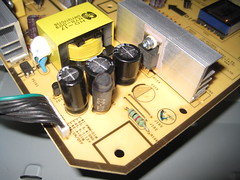
Samsung Syncmaster 203B fix
Another dead LCD graciously donated by Mark G, and fixed!
Symptoms: Powers on for a brief second then goes off again. Will not power on.
Fix: A few 820uf caps are bad (normal bad caps issue) as well as possibly a 330uf. Couldn't find them locally, replaced 820uf caps with 1000uf, and replaced the 330uf with one of similar value. Seems to work fine. YMMV.
This is now the labs nicest LCD monitor!

Location

Google Calendar
@757Labs
- No public Twitter messages.
Links
User Groups
- 757 CCC Comic & Cartoon Creators
- 757 Objective C Group Objective C and Cocoa programming group.
- 757 Python Users Group
- 757.rb Ruby Users Group
- HR Geeks Hampton Roads Geek Community